Baby stuff is effing expensive.
It really is. Early on, I fell in love with the Bananafish Love Birds set. I love the birds and the leaves and the OMGITSSOCUTE of it all. Unfortunately, $179 on a fitted sheet, a dust ruffle, a bumper and a quilt makes my heart want to explode out of my chest. So, instead of biting the bullet, realizing that EVERYONE spends ridiculous amounts on baby bedding and purchasing the set, I settled on a pink, green and brown color scheme and that was that. We were even gifted a very cute bedding set from one of my class parents that matches the scheme perfectly:
 I sort of detest this picture. It's way cuter in person. Still, as cute as the bedding is, I kept going back to that darn Bananafish. Something about the little birds and leaves and muted colors just speaks to my heart. So, instead of breaking the bank, I said "Well, maybe just the wall art. That's compromising, right?" Plus, look how cute it is:
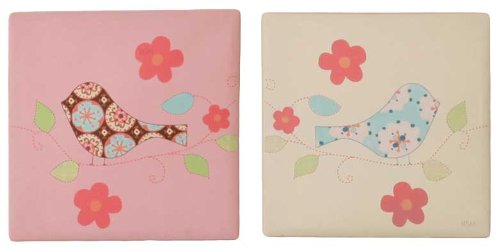 And then. Oh, and then. Did I mention that this piece retails on Amazon for $64?! Just let that sink in. I'll wait.
Once I recovered from my sticker shock induced coma, I grabbed Paul and the two of us marches ourselves down to Hobby Lobby. I love Hobby Lobby. My entire wedding was from their shelves.
Now, my version is a great deal simpler, but you could easily add whatever flowers/leaves/vining/color you wanted. You could even make the pieces fabric covered with a little bit of fabric and a stapler. It's really not tough stuff.
Here's what you'll need:
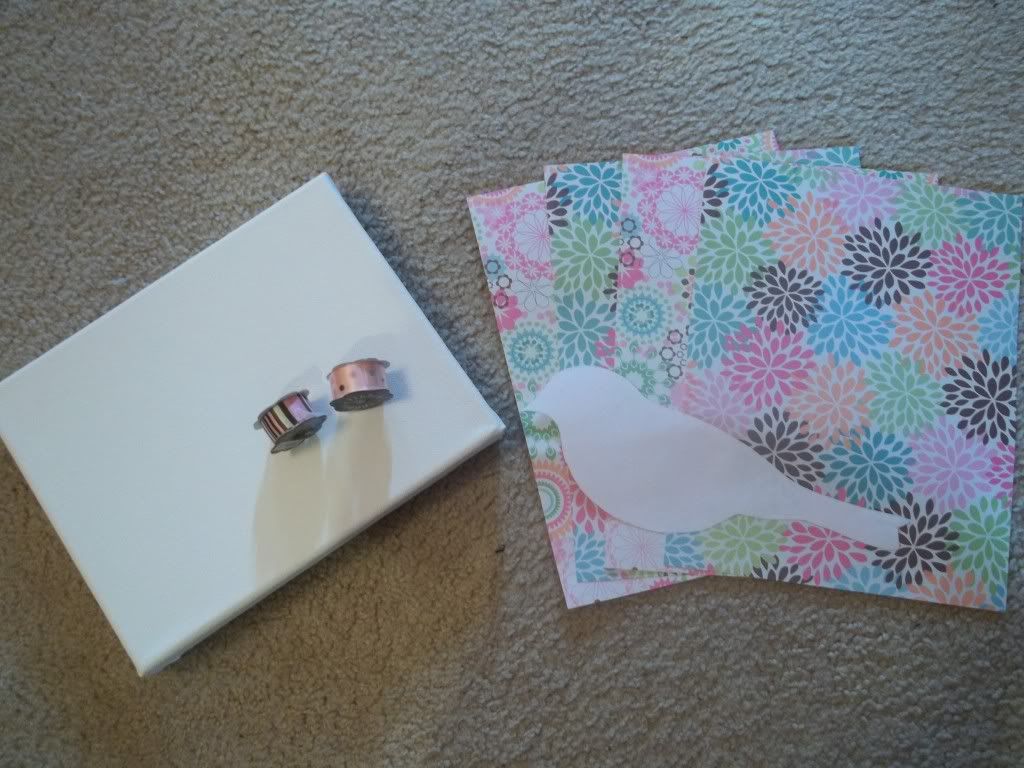
- Two 8x10 Canvases (I found a 2-pack at HL for $3.50)
- Two sheets of 8.5x11 Scrapbooking paper (I got four in case I messed up, but they only run about $.44 apeice)
- Ribbon (This is optional, depending on how you want to mount your art
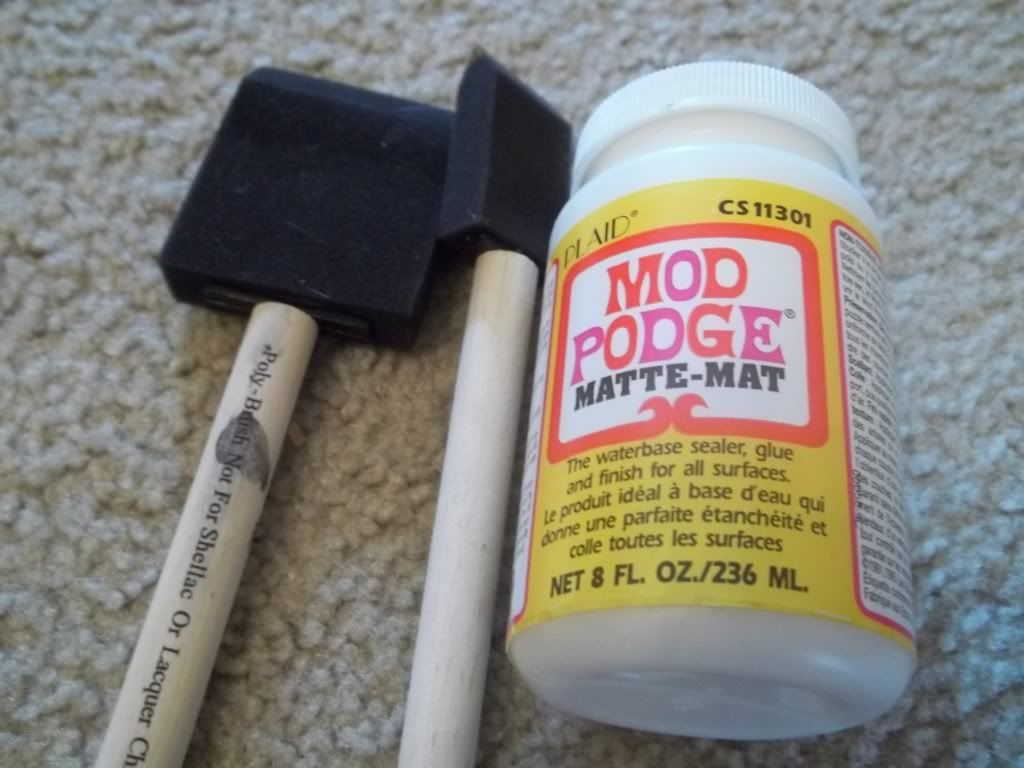
- Mod Podge ( I used the matte finish, and it turned out well)
- Spongy craft brush
- Bird Template (I used this one from Under the Table and Dreaming)
This is seriously the easiest project I've ever done. You don't even have to print out the bird template. Just bring the picture up on your computer screen, zoom to the size you want it, and trace it onto printer paper. Cut that out and VOILA! insta-stencil.
Obviously, the first thing you're going to do is trace your birdie stencil onto the back, and I repeat, the BACK of your pieces of scrapbook paper. Don't do it on the front. The Back. Otherwise, you end up with pencil marks on your cute new bird.
Cut those out. I assume you know how to use scissors. Just be careful going around the rounded edges. It's easy to not round enough and end up with jaggedy edges. Not cute.
Note: Remember to trace your birdies so they are facing opposite directions. I almost made that exact mistake before I stopped and said "Wait...what?"
Now for the fun part. Using your spongy brush (I used the little one), apply Mod Podge to both the canvas and the back of your bird. I found that just a single layer on one or the other just doesn't cut it. Carefully position your bird and smooth out the air bubbles. I found that no matter what I did, I had a few air bubbles. I'm only fake crafty, so I'm not really sure how to remedy the situation, but they seemed to calm down a lot after I put on the sealing coat of Mod Podge and let them dry.
Let the Mod Podge dry for about 15 minutes, then put on a thin layer over the entire canvas, including the birdie. This will (Apparently) help seal the piece so you don't end up with a little birdie peeling off in a few months.
So, after all that, you should end up with something resembling....THIS
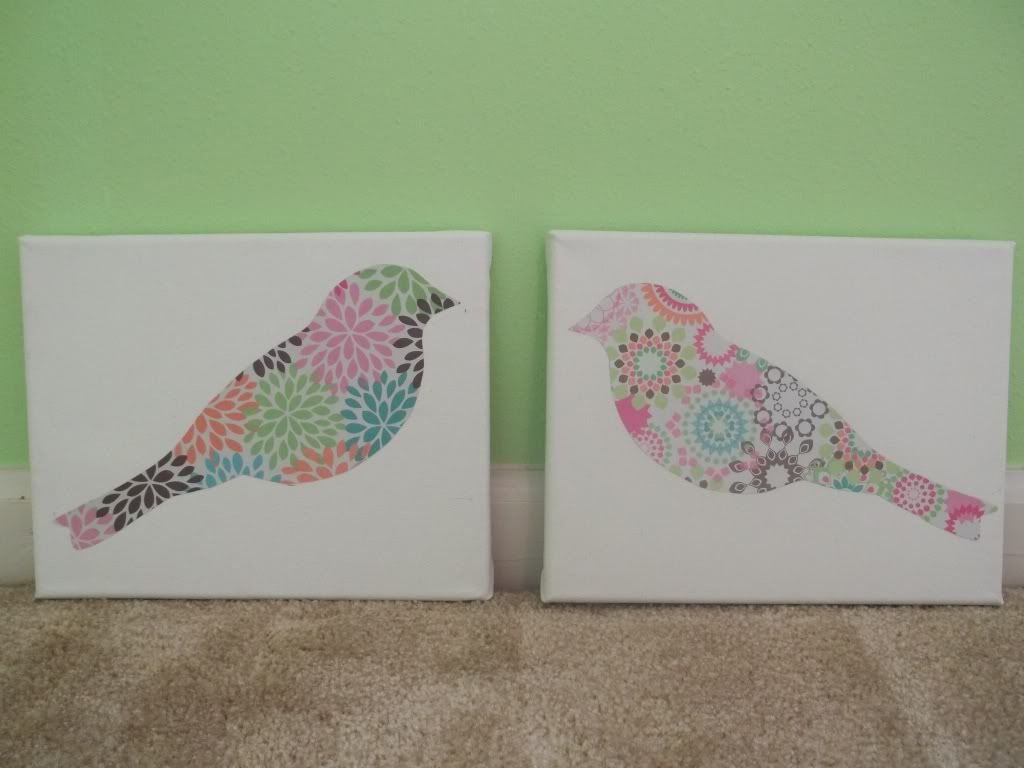 My little birds aren't perfectly even, and I opted to go a LOT simpler than the original wall art, but I'm pleased with how they turned out. I don't even think I'll hang them with the ribbon. I like the simplicity of just mounting them on the walls.
If you wanted to do extra pieces, it would be super easy to just add them into the above instructions. If you wanted a fabric background, I would suggest using cotton and applique-ing, rather than Mod Podge, although I hear they make a type that works well for cloth, so have at it.
When we get her dresser/changing table in, these little cuties will hang above it. Soon and very soon.


No comments:
Post a Comment